
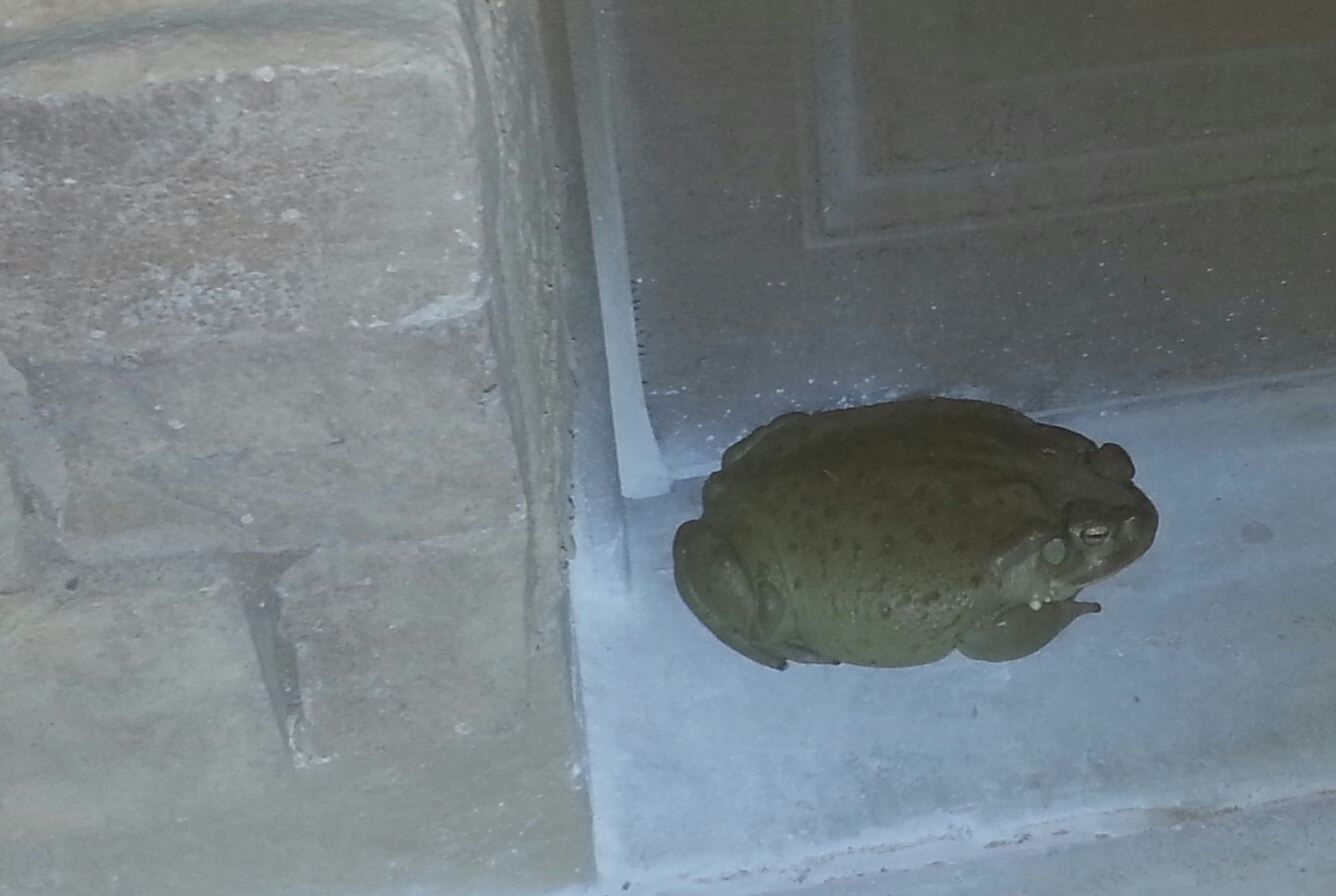
 This DIY hay feeder project actually began last summer as a toad proofing project. Yes, toad proofing is a real thing. We have enormous Colorado River Toads here – and when I say enormous, I mean toads the size of a dinner plate that could swallow a kitten whole. Although I don’t mind the toads, and in fact, would normally welcome these insect-eating critters, they happen to be highly toxic to dogs. So toxic, a dog can die just from licking one of these puppies.
It turns out toads are fabulous toys according to George, so after a very close call involving a baby toad and our bouncing great dane, I needed to find a way to toad proof the backyard. Enter hardware cloth. Our backyard is wrapped up nice and tight from the ground to 24 inches, and so far so good. The toads can live happily in the front yard and pasture, and the dog is safe in the backyard.
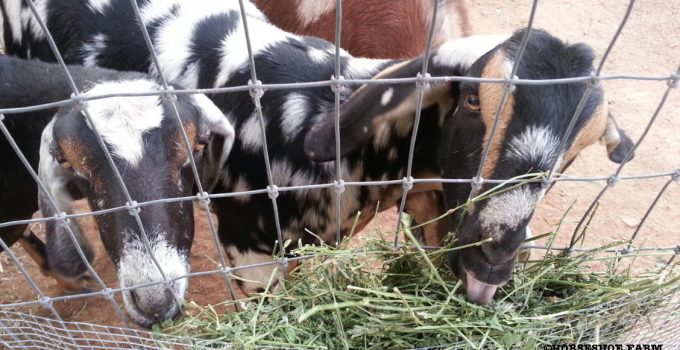
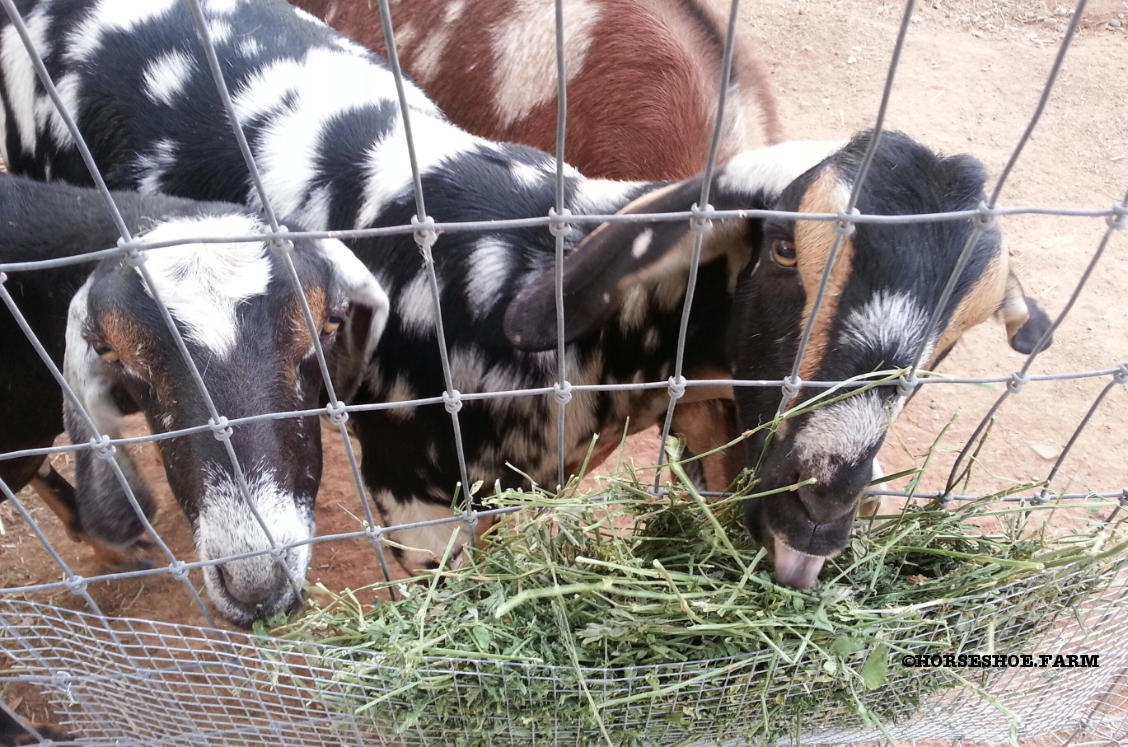
I stuffed some hay between the hardware cloth toad-proofing and the pasture fence one day when I was in a hurry and didn’t have time to fuss with the hay net. As it turns out, hardware cloth works really well wired up along a fence to hold your hay up off the ground, keeping it nice and clean, and spread out so there’s plenty of room for everyone to eat.
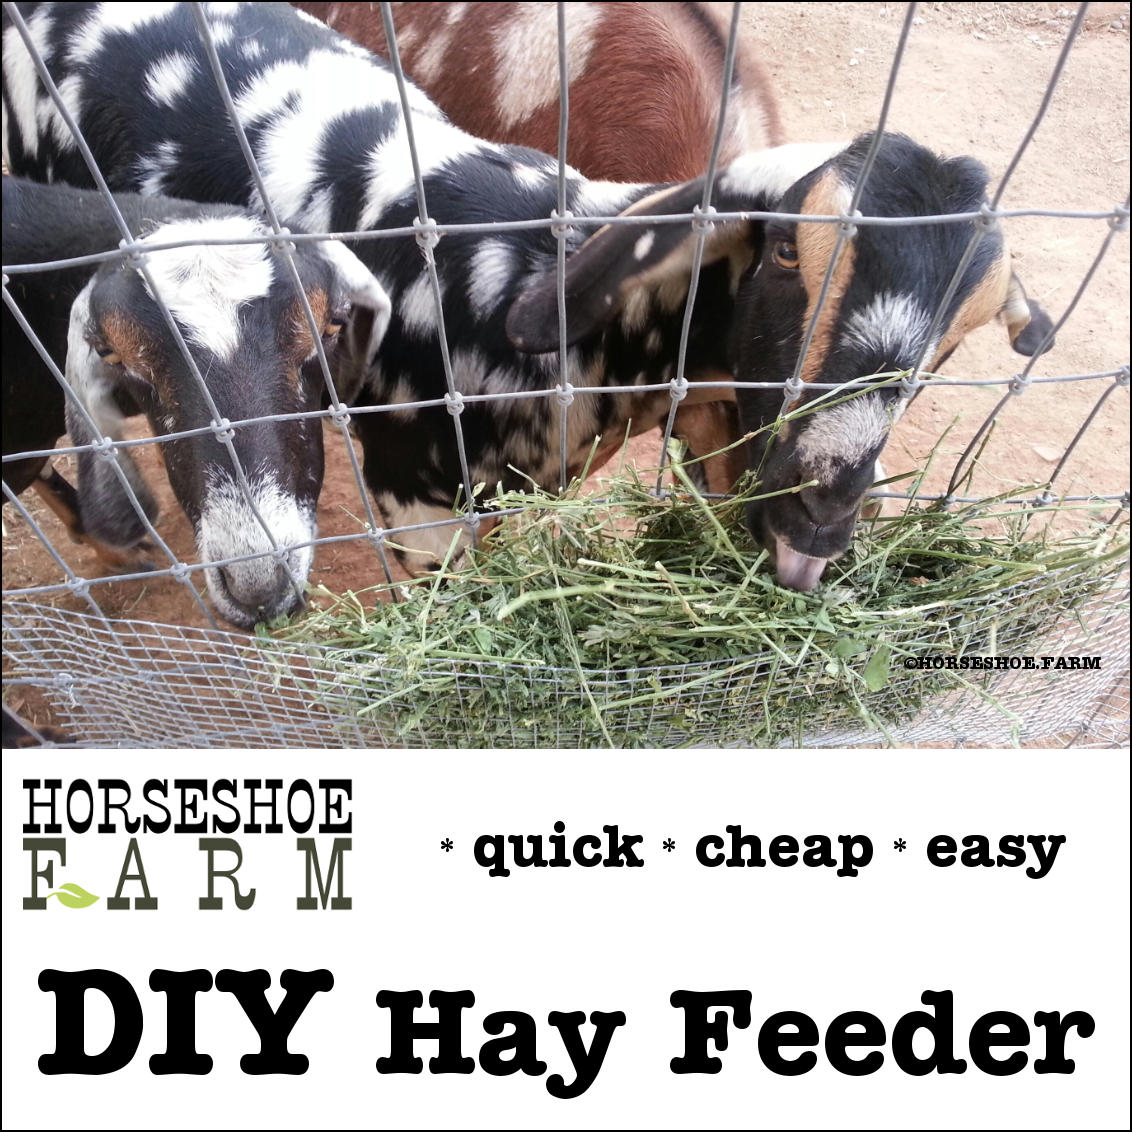
Here’s a quick tutorial on how you can make your own DIY hay feeder using supplies you probably already have around the house. If you need to purchase the hardware cloth and wire, I picked up a small roll of 24″ hardware cloth and wire for under $15 total. You can also tie it up with zip ties. This 3ft wide hay feeder took about 10 minutes to make!
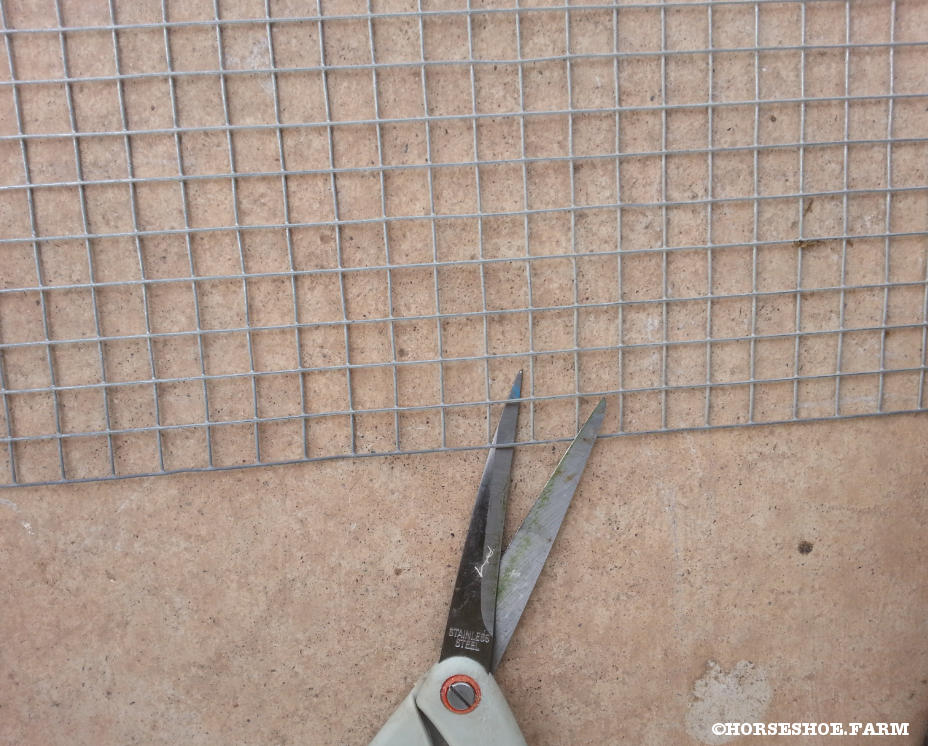
Start with your hardware cloth. I’ve used wire with both half inch and quarter inch holes, and they both work well for grass hay. 1/4-inch holes would be best for Alfalfa. Roll it out and cut it to the length you’d like your feeder to be:
Stand on the outside of the fence. Using some baling wire or zip ties, tie up one of the top corners at the height you’d like it:
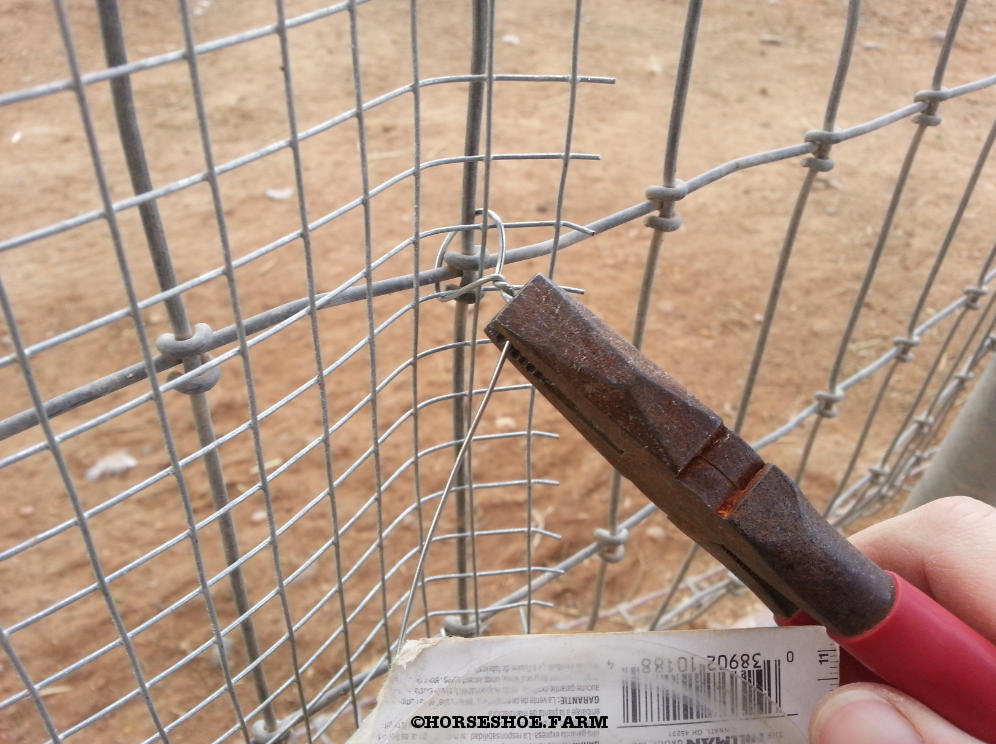
Hold it up so it’s level, curve it out a little so there’s a gap between the fence and the hardware cloth for the hay to go in, then wire up the top on the other side:
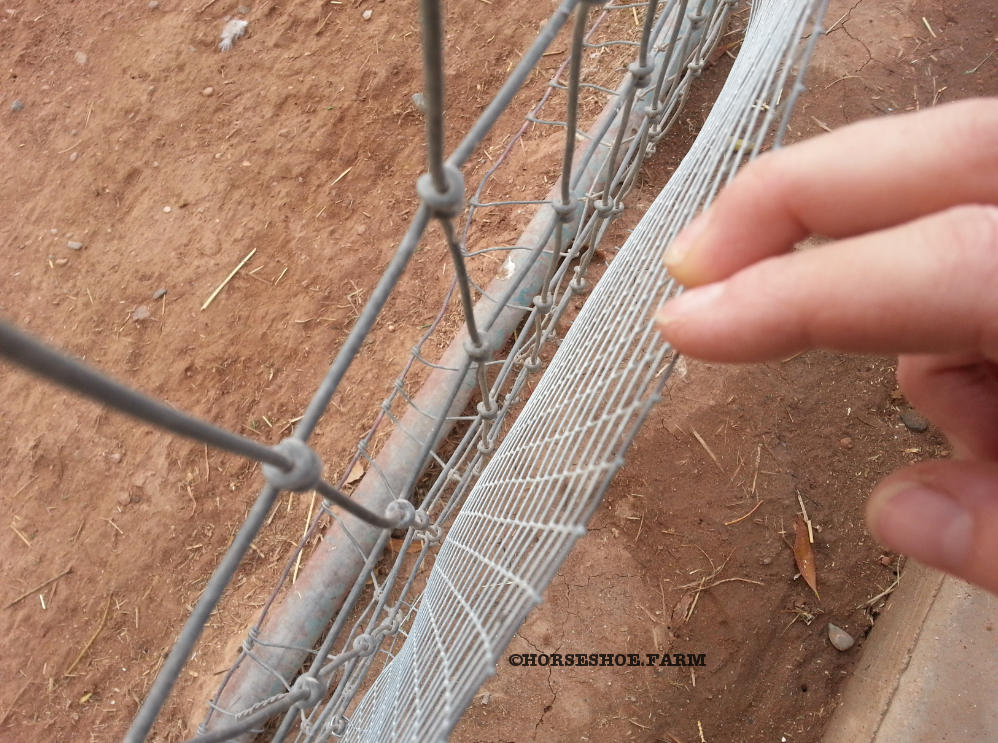
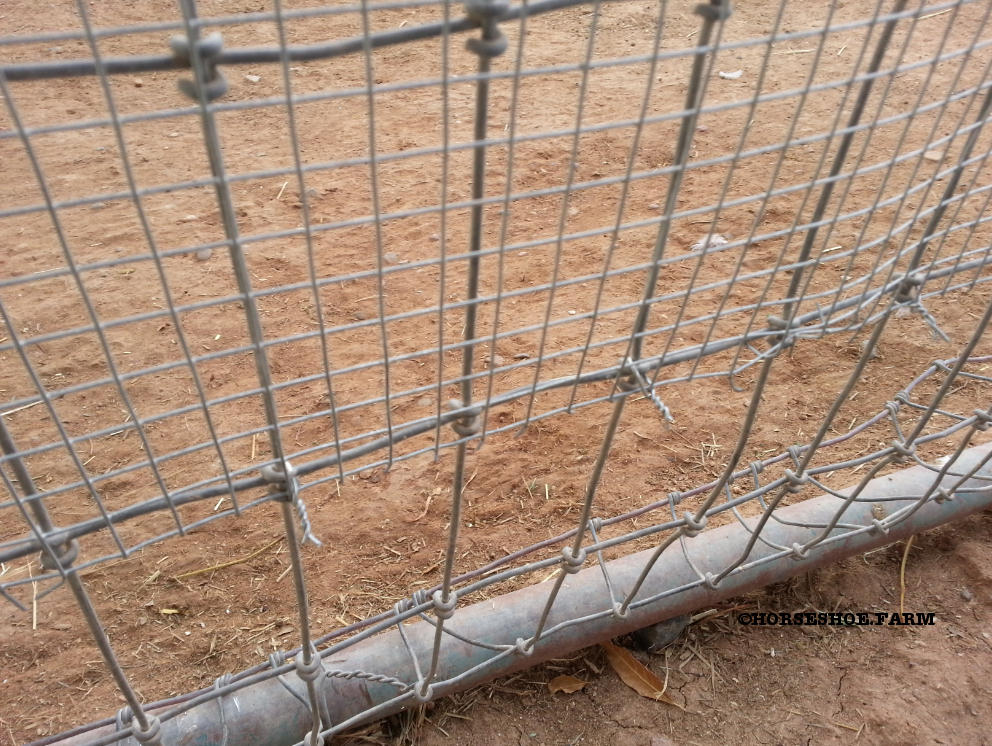
Leave the top open, and wire up the sides and bottom. Fold any sharp edges out, and make sure none of the wires are poking in toward your goats:
Stuff it with hay!
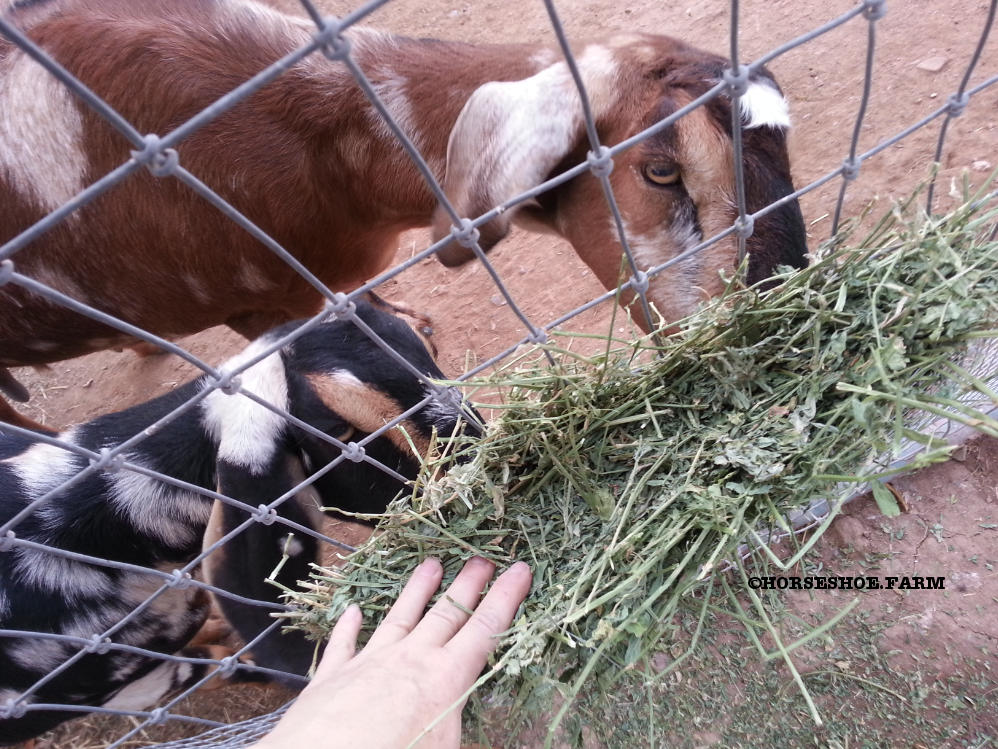
I like to hang these at varying heights in different areas around the pasture, and I stuff each with a different type of hay. Eating different foods in different places helps to satisfy goats’ natural browsing instincts, which makes them happy.
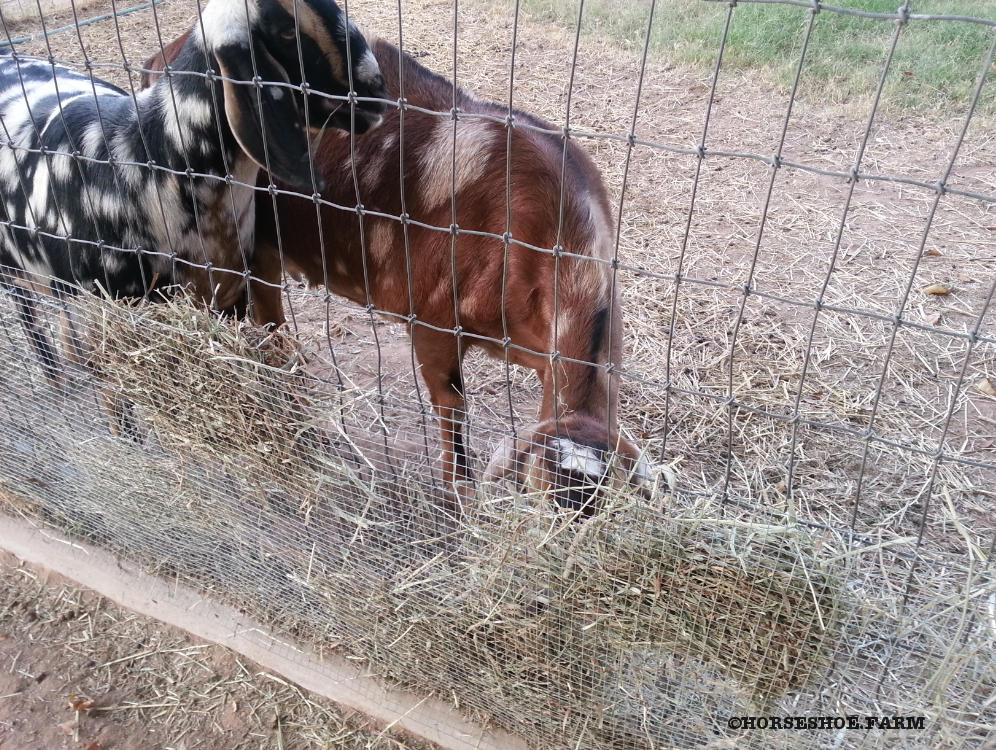
This hay feeder has been working really well with grass hays like Timothy and Bermuda. I use one for Alfalfa, too, but a little flakey stuff falls out. Hardware cloth with 1/4-inch holes would have been a better choice for the Alfalfa feeder. It would probably help if I wired up the bottom a little tighter, too.
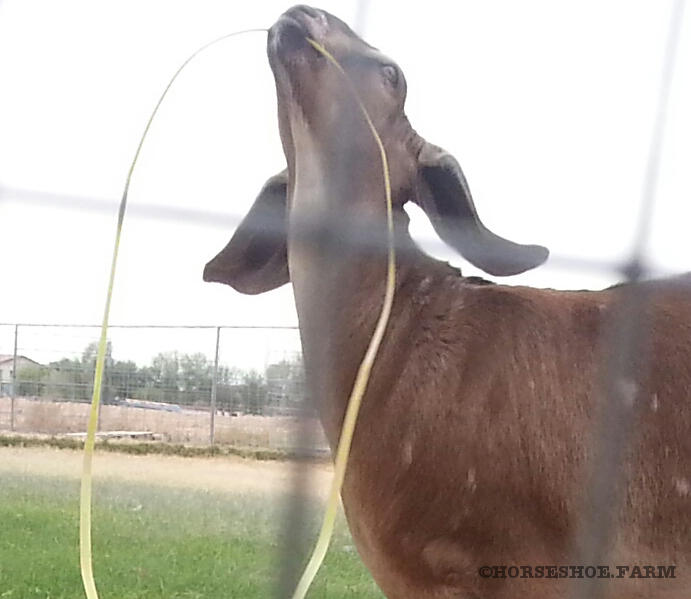
You may be wondering where Isobel is, and why she’s not in any of these photos. She’s her own special snowflake, and thought the hay bale strap was much more interesting than the hay:
If you have boys that don’t like to share, you can run this along the whole fence and stuff hay all over the place. In hindsight, I’d hang it higher for the bucks – chest-height and up would be ideal:

The cute little floating hay puffs remind me of tumbleweeds, which makes me giggle.
If you don’t have a wire fence, a similar technique using wire with larger holes and a wood frame box works great:
That’s a tutorial for another day. : )

Comment on This